Extending a CB360 brake stay
Not all the jobs needed to modify a motorcycle are really all that interesting and extending the CB360’s brake stay to accommodate the extended swing arm shows this. However, the prep and clamping that this took I think is a good example of how to work with something round. Maybe this will give you some ideas the next time you need to do something similiar.
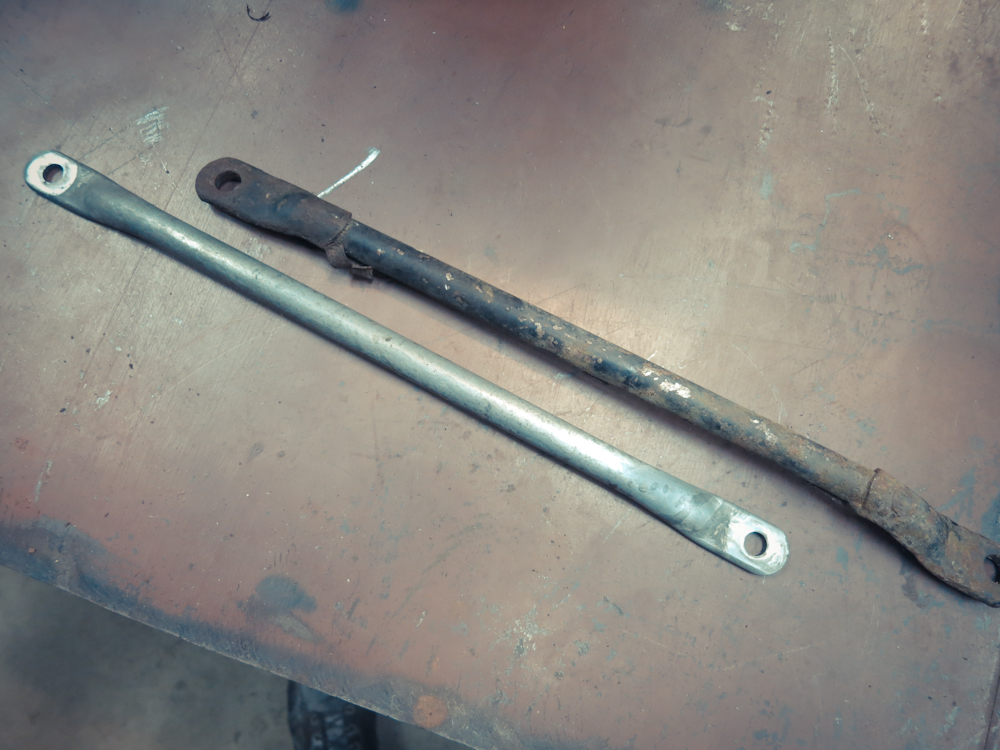
1. The brake stay and the donor one that was in the scrap bin with a matching OD.
2. Made my cuts as clean and straight as possible then squared them up on the disc sander.
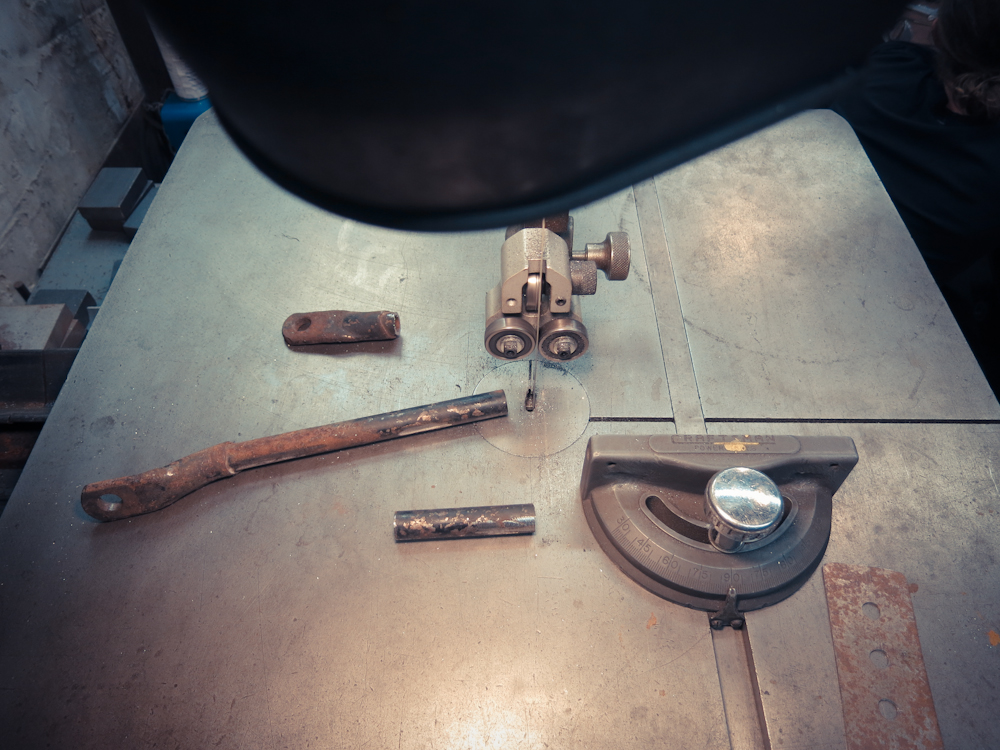
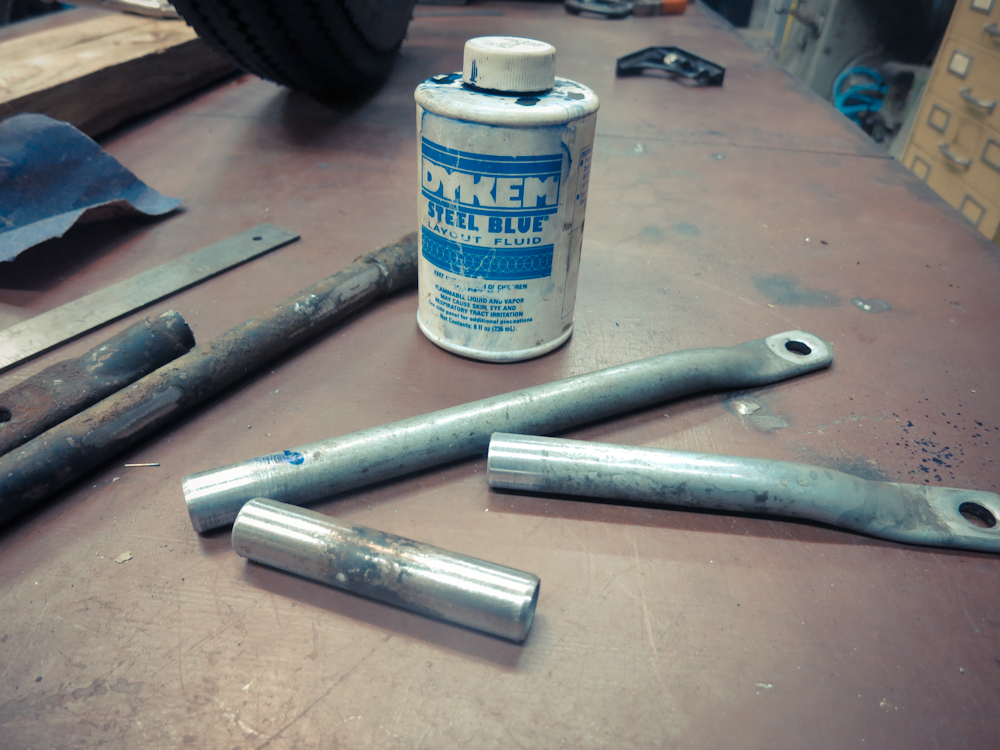
3. Using the belt sander, I chamfered on all the mating edges and cleaned everything up for welding.
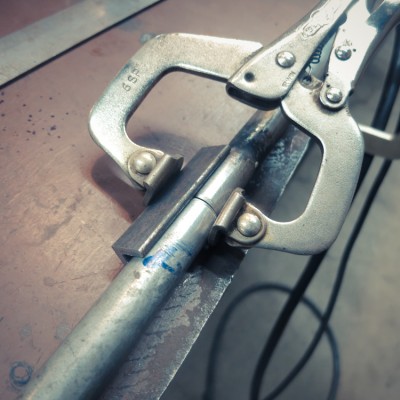
4. Using a v-block to clamp up the first side to tack it in place. V-block are really helpful with lining up round pieces. I left a 1/16″ gap between the pieces so that I could get the proper penetration with the weld.
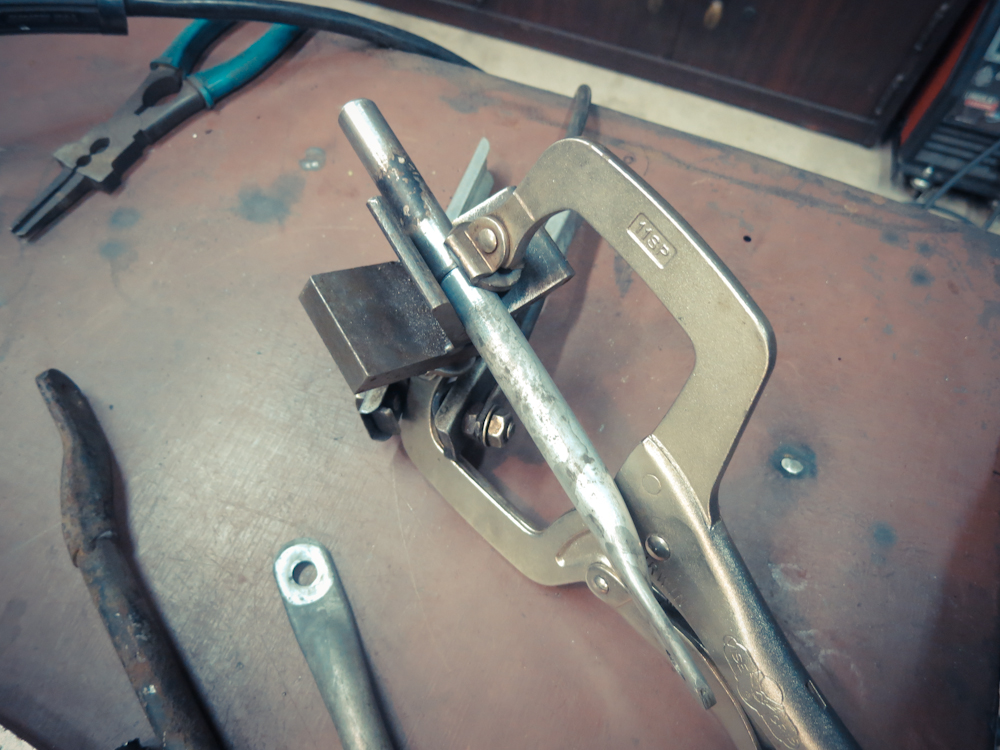
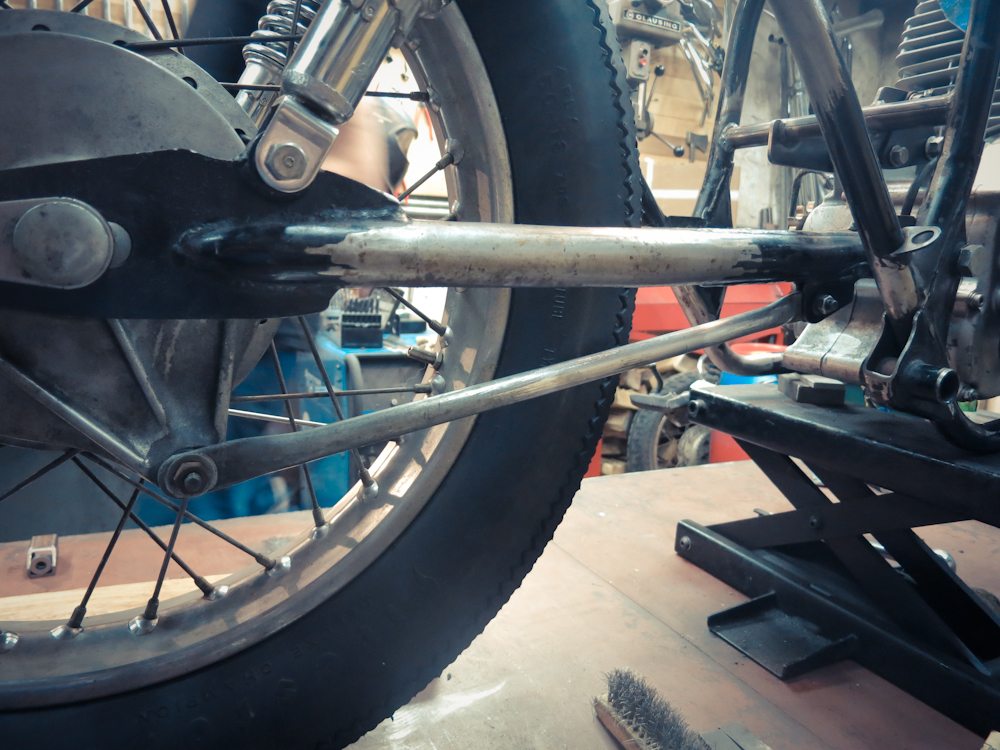
To tack up the other side I clamped down both flat ends to the table so that they’re on the same plane.
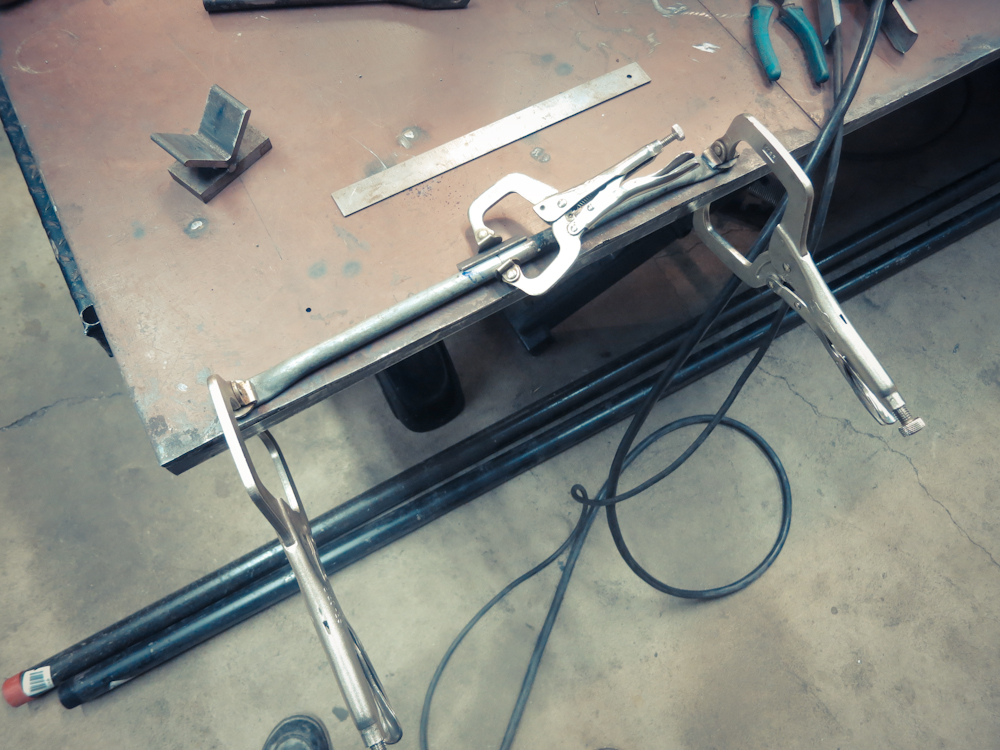
Then using a piece of angle I clamped the joint so that everything lined up.

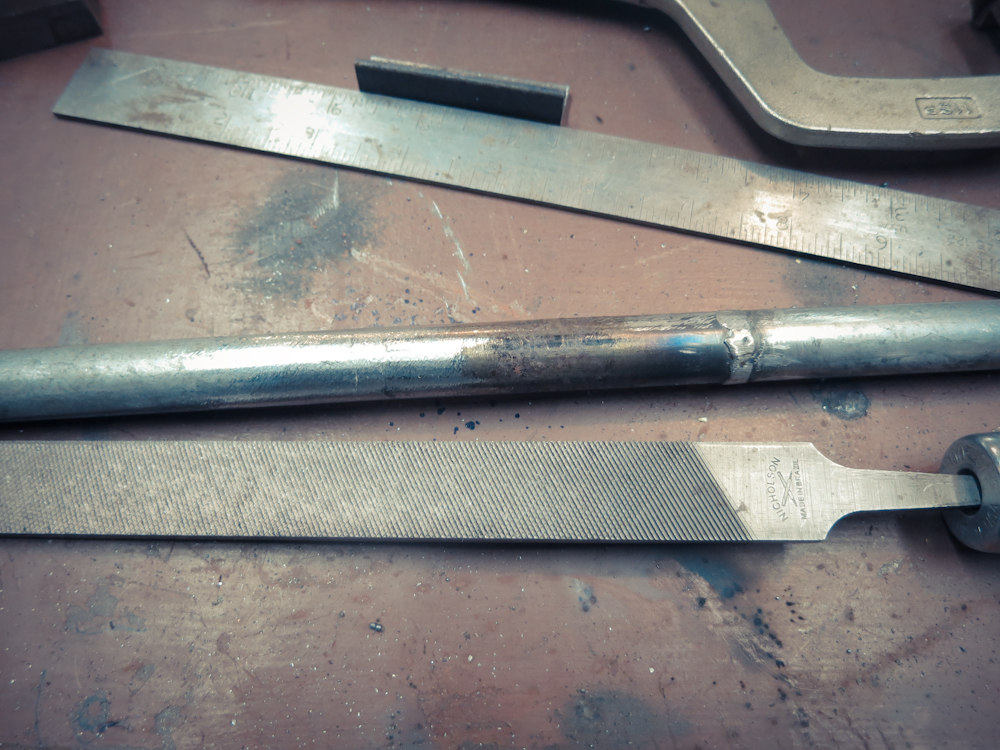
5. Completed the welds and cleaned them up with a handle file. I find this to be the best way to make the joint look seamless.
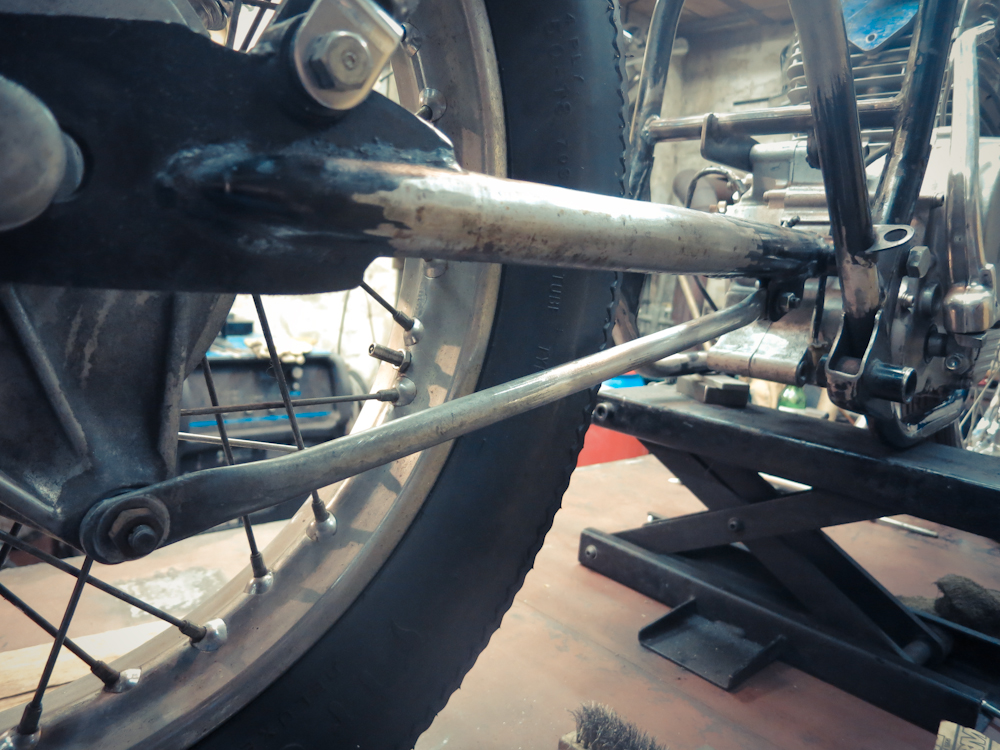
6. Finished and on the bike
6 responses to “Extending a CB360 brake stay”
Leave a Reply
You must be logged in to post a comment.
Random
Blast
From Past

Published - Nov 18, 2015
Dirt Bike Weekend | Bald Eagle State Forest
If you didn’t already know… dirt bike weekends fuckin’ rule. Last weekend, 12 of us packed up after work on Friday and headed 3hrs outside Philly to Bald Eagle State Forest. Around 10pm our crew of old Toyota’s was cruising down a gravel road in the pitch black. Ed and I in front, were pounding […]
Fuckin sa-weet! Did you bevel out the edges? If so, what did you use? Sometimes I get worried when I do butt welds for situations like this with not much surface area that they are going to break down the road
Yea, I beveled the mating edges with my floor standing belt sander. You can also use a bench grinder or just do it with a hand file.
I’m 100% confident with butt joints. Yes, using a slug would be stronger, but (in my opinion), it’s not always necessary. I think as long as you know how to weld correctly and set the joint up like I did, the weld will always be plenty strong. The slugs also help with lining up the joint where if you don’t do it this clamping method will get everything lined up just as well.
Just another in a long list of Adam and Ricky’s expertise in this build, sharing in the steps puts their dedication in a new light…let’s see more of these examples as this build approaches it’s finale! The list of mods is crazy and are literally unseen to the uneducated eye! Thanks for all the late nights fellas!
Adam, what type of welding are you doing?
@ Jeremy, For this I used my MIG welder but I’m also setup to do TIG and oxy/acetylene.
Nice to have options. Just bought an OA torch setup and trying to teach myself.
Finally seeing the end of the light at the end of the tunnel on that ’72 CB450 project you guys helped me with a couple years ago. Makes me start thinking about what I’d like to tackle next, and it’d be nice to be able to do some welding on whatever it is.